6. Nose Wing Part 3


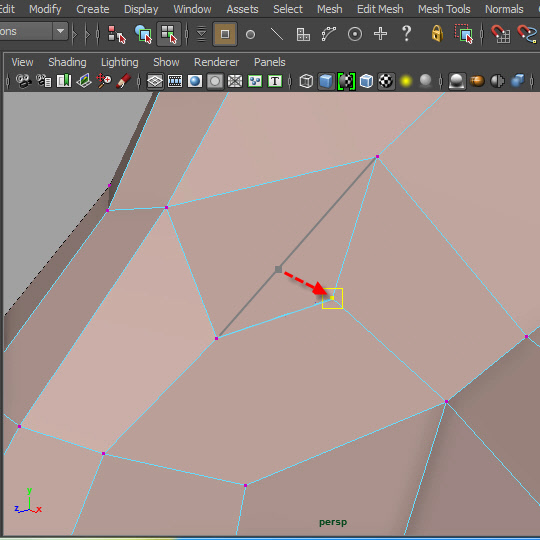
18. 対角線上のバーテックスをマージし、流れを変えます。
Merging these two vertices make the edge flow clean.

19. このようになります。
After mering two vertices, the edge flow became clean.
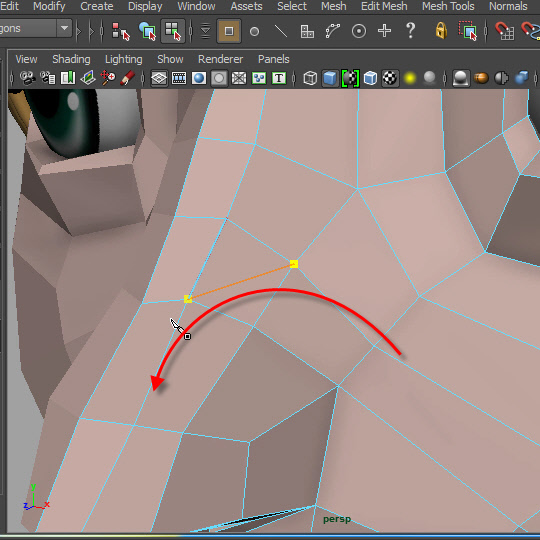
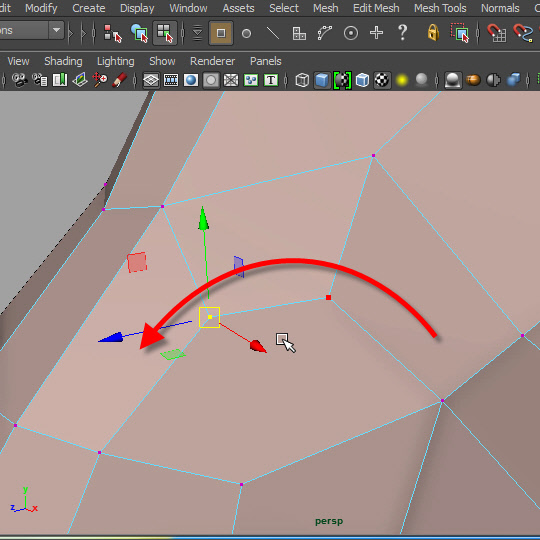
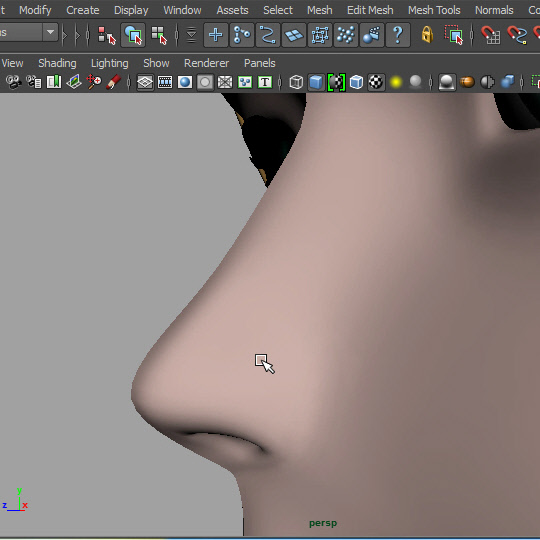
20. 頬から小鼻に向かう流れを作ってみます。
まず図のように Multi-Cut Tool で「対角線割り」をします。
I am going to change the edge flow above the nose wing.
First, add an edge like the picture above.
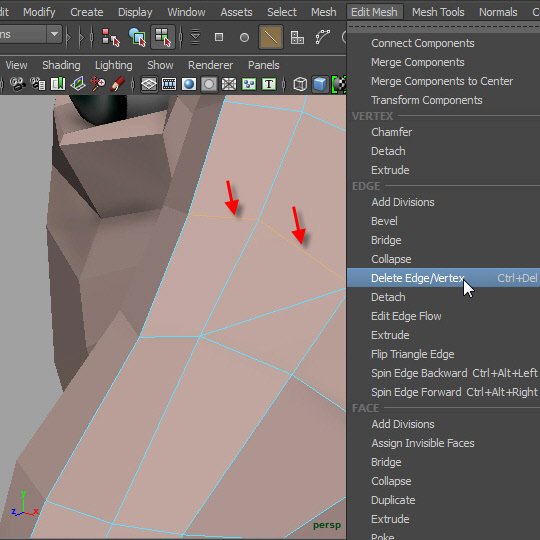
21. 削除します。
Delete edges.
22.

23. 図のように「三角割り」をします。
Add an edge.

24. 図のようにエッジをDelete します。
Delete the edge.
25. バーテックスを移動して小鼻の形を作ります。
Move the vertices and make the nose wing shape.
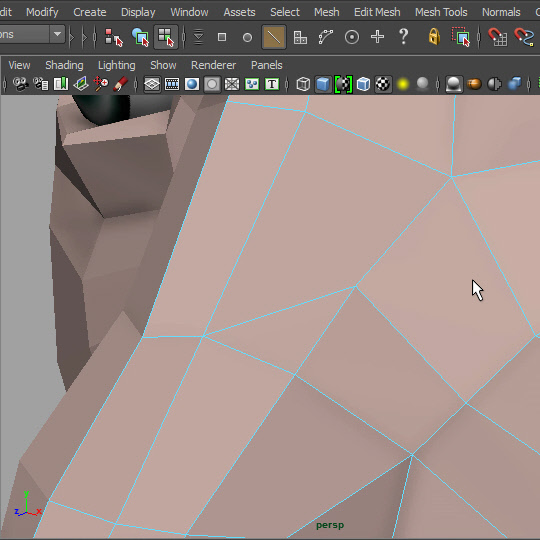
26. 頬から小鼻を通って、鼻の先に向かう面の流れができました。
Now you see the edge flow above nose wing.
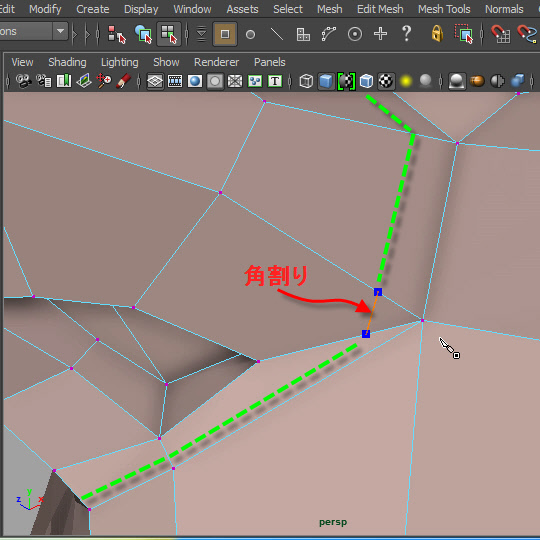
27. 小鼻から鼻の下を通るエッジループを入れてみます。
まず、Multi-Cut Tool で図のように「角割り」をします。
I need a hard edge around the nose wing so I will add an edge loop around the nose wing.
First, add an edge on the corner like the pictur above.

28. 図のようにMulti-Cut Tool でつなぎます。
Add edges like the picture above.
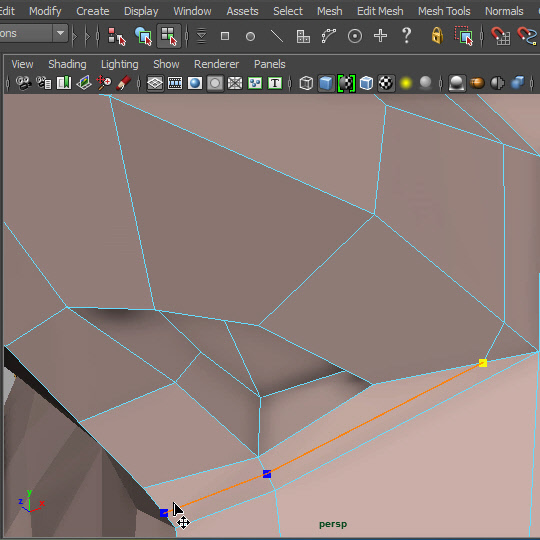
29. 鼻の下にもエッジを入れます。
Put edges under the nose.
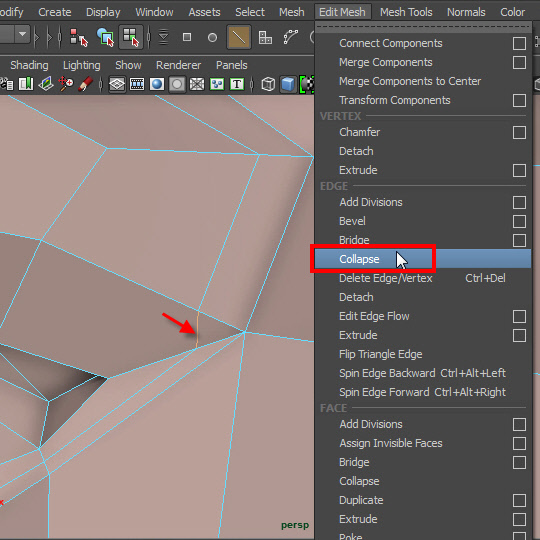
30. 最後に、角割りのエッジを潰します。 Collapse で潰します。
Select the edge on the corner. Then, collapse it.

31. 鼻の下、三つのエッジの間隔を調整します。
くっきりと線を入れたい場合は近づけ、滑らかな面を表現したい場合は間隔を開けます。
If you want hard edge under the nose, move these three edges closer .
32. アニメキャラクターの場合、鼻のディテールを作り込むと、グロテスクな感じになる場合があるので、全体的なバランスを見ながら、なるべくシンプルな形に仕上げます。
Keep the nose shape simple for anime style character.
-6-